Cardboard boxes are an incredibly important and versatile tool that we often take for granted. Whether it’s for storage, packaging, or even creative DIY projects, cardboard boxes serve a multitude of purposes in our daily lives.In this blog post, we will provide a brief overview of the steps involved in making one.
1.Gathering the Necessary Materials
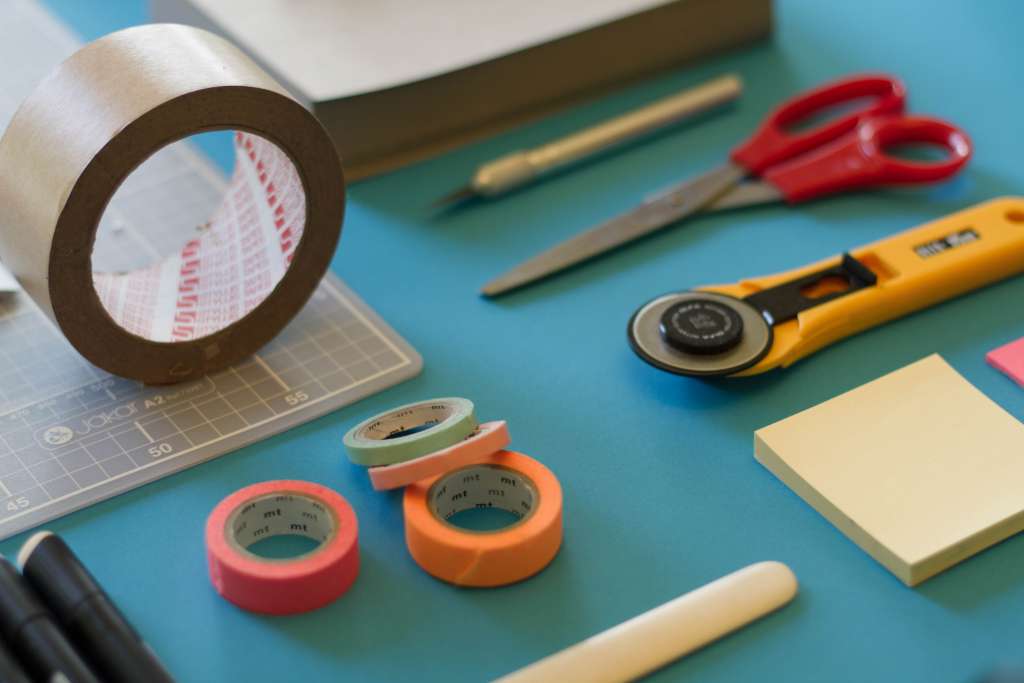
- Cardboard sheets
- Utility knife or box cutter
- Ruler or measuring tape
- Pencil or marker
- Cutting mat or surface
- Adhesive material
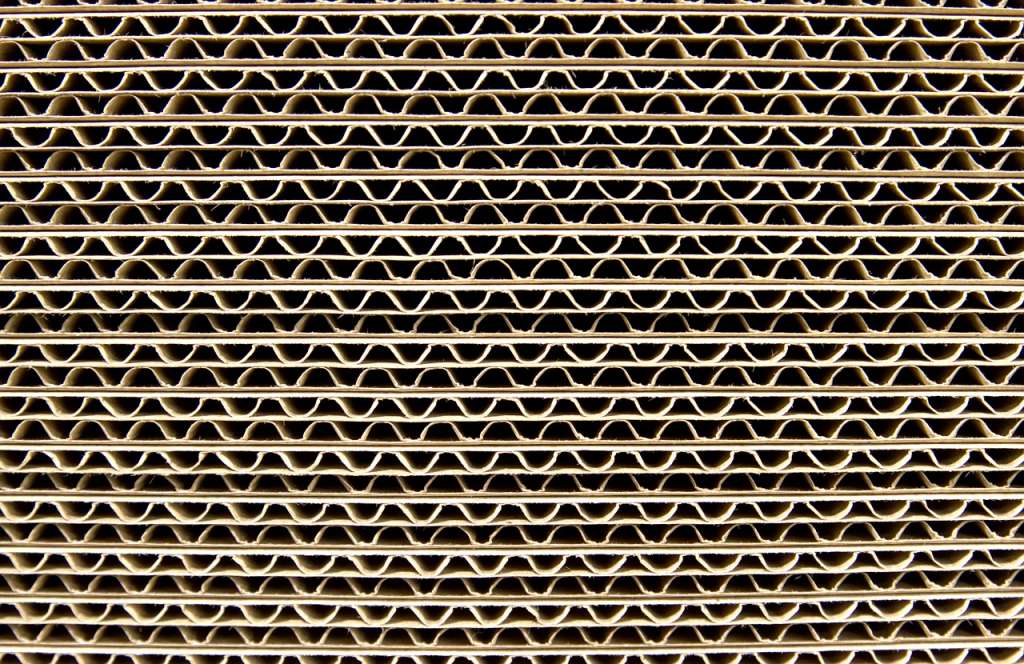
If you intend to create a box for heavy or delicate items, opt for thicker and denser cardboard sheets. They offer more strength and stability to withstand the weight and provide enhanced protection. On the other hand, if the items are relatively light or non-fragile, thinner cardboard sheets may suffice.
Moreover, using high-quality cardboard ensures the longevity of your box. It reduces the risk of the cardboard tearing, bending, or losing its shape over time. Remember, a well-constructed box begins with good quality materials.
2.Preparing the Work Area
When embarking on a project to make a cardboard box, it is important to set up a suitable workspace to ensure an organized and efficient workflow.
Before you begin, consider the available space in your home or garage. Opt for an area that provides sufficient room to comfortably work on your cardboard box project. Ensure that the workspace is well-lit, which will allow for better visibility while working with the materials.
Working with cardboard may generate dust particles that can be harmful when inhaled. Therefore, it is crucial to have proper ventilation in your chosen workspace. Open windows, use fans, or set up an exhaust system to circulate fresh air and prevent any potential health hazards. Additionally, keeping the work area clean and tidying up regularly will create a safer environment and prevent clutter from affecting your project.
3.Measuring and Cutting the Cardboard
Rulers and measuring tapes are indispensable tools in the process of making a cardboard box. Rulers are ideal for measuring smaller dimensions, such as ensuring the sides of the box are evenly sized. On the other hand, measuring tapes are useful for measuring larger dimensions, such as the length or width of the box.
While measuring the cardboard sheets, it is essential to follow a few techniques to ensure accuracy. Firstly, when using a ruler, make sure it is lined up straight with the edge to avoid any measurement discrepancies. Additionally, double-check your measurements to minimize the risk of errors. Relying on a ruler or measuring tape alone may not provide the desired results, so it is recommended to use both tools interchangeably for increased accuracy.
Cutting the cardboard sheets requires precision to obtain clean edges and maintain the integrity of the box. Start by marking your measurements lightly with a pencil on the cardboard sheet. This will serve as a guide during the cutting process. To cut the cardboard, use a utility knife or a box cutter. Ensure the blade is sharp to prevent ragged edges. Apply even pressure while cutting, moving the blade smoothly along the marked line. Take your time and be cautious to avoid any accidental injuries.
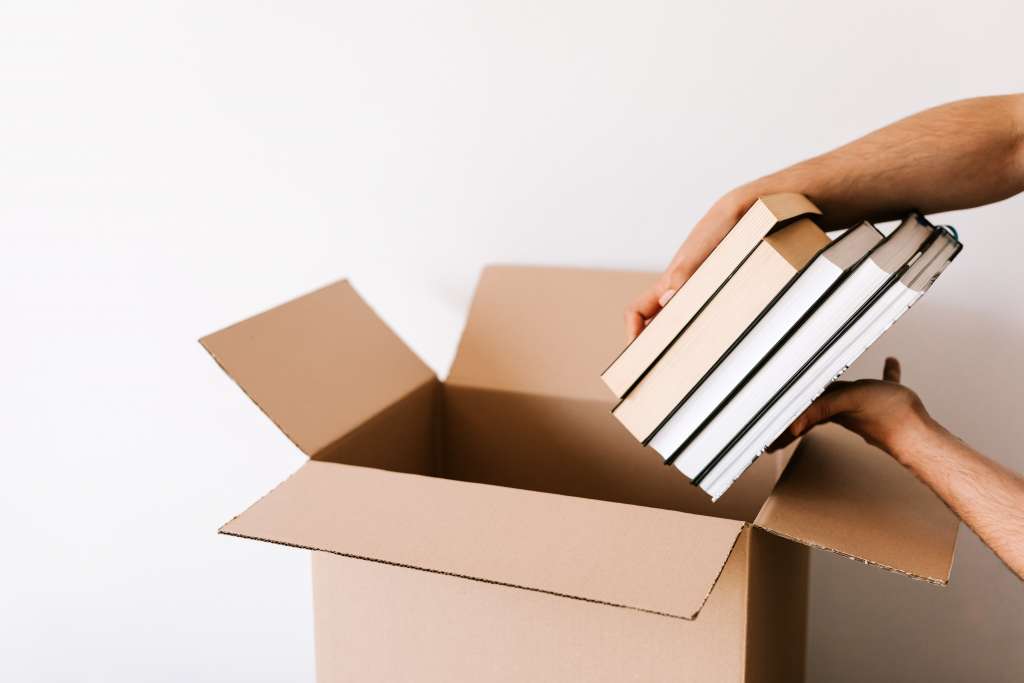
4.Folding and Assembling the Box
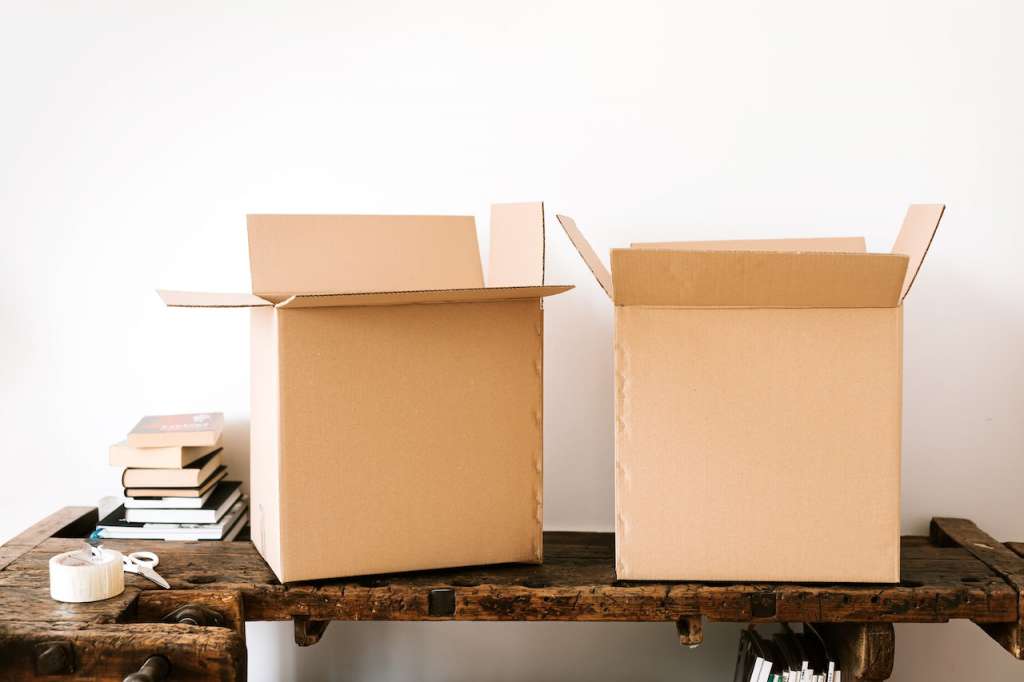
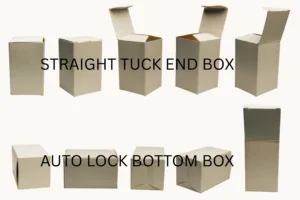
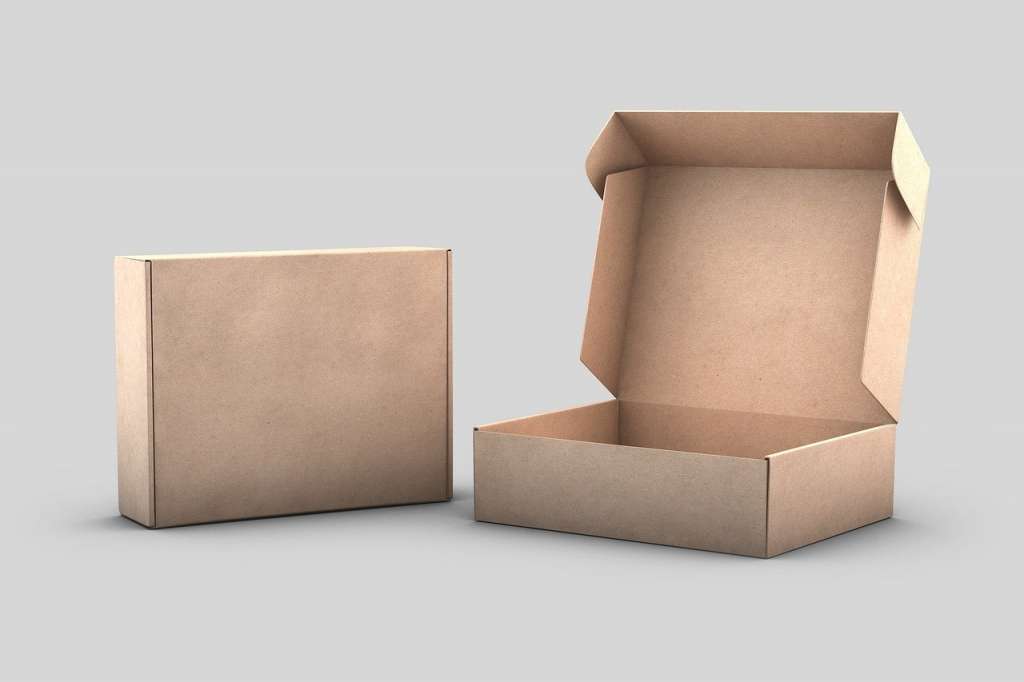
A typical cardboard box consists of a bottom piece, four side panels, and a top piece. The bottom has flaps that fold to create the base, while the top piece usually has flaps that tuck into the sides.
Start by identifying the crease lines, often marked on the cardboard, which indicate where the folds should be made. Gently fold the cardboard along these lines, applying even pressure to create clean and crisp creases. For better results, use a bone folder or the edge of a ruler to sharpen the creases. Additionally, ensure there are no wrinkles or bulges along the folds, as these can weaken the box’s structure.
To adapt the dimensions, mark the desired measurements on the cardboard before folding and cutting. Use a ruler or straight edge to guide your cuts, ensuring they are precise and straight. Remember to alter the dimensions of both the bottom and top pieces accordingly, maintaining proportionality. By adapting the box dimensions, you can optimize space utilization and tailor the box to accommodate your items perfectly.
5.Securing the Box
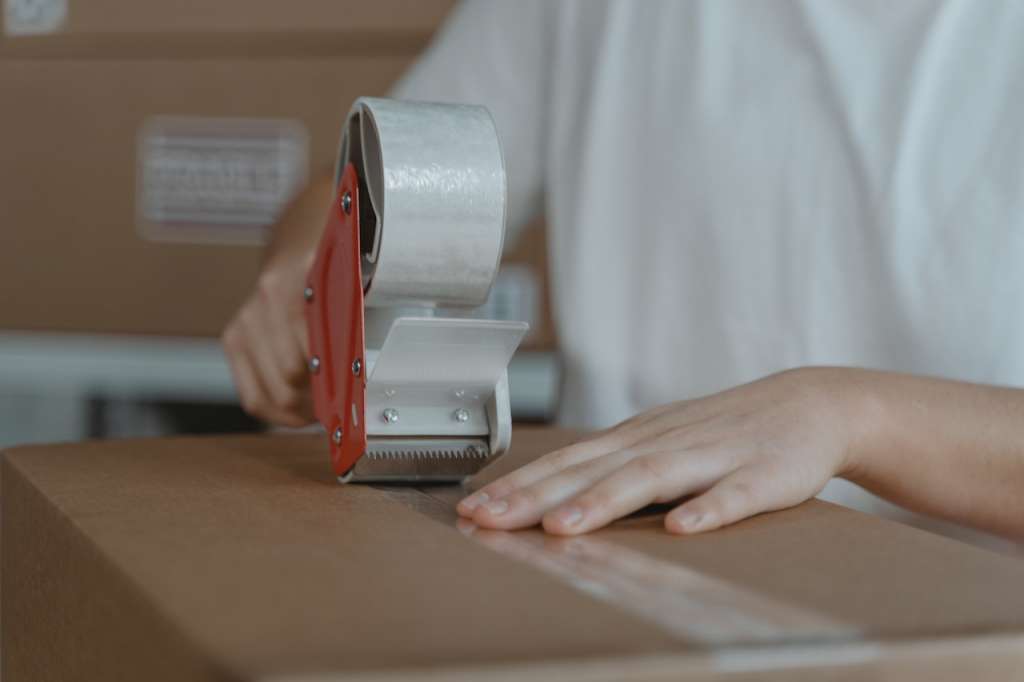
Proper closure is critical when making a strong and reliable cardboard box. Using suitable adhesives and tapes, and reinforcing weak areas can effectively prevent damage to the box.
Effective methods of box closure
- Folding technique: Start by folding the flaps of the box neatly and precisely. Ensure that each flap aligns perfectly, creating a uniform closure.
- Stapling: Using a stapler, secure the flaps together at strategic points along the edges. This method works particularly well for larger, heavier boxes.
- Tying with twine: For lightweight items or flat-packed boxes, tying the flaps together with twine can be a practical and secure closure method.
- Interlocking tabs: Many cardboard box designs come with interlocking tabs that securely hold the flaps in place without additional external materials.
Adhesives and Tapes
- Packing tape: This is the most commonly used adhesive for box closure. It provides a reliable seal and is available in various widths and strengths.
- Duct tape: Known for its strength and durability, duct tape is ideal for heavy-duty boxes or boxes that will undergo rough handling. However, it can leave adhesive residue when removed.
- Glue: When dealing with smaller boxes or intricate designs, using glue can be an effective option. Choose a strong adhesive that dries quickly and bonds well with cardboard.
- Masking tape: While not as strong as packing or duct tape, masking tape can be useful for lightweight boxes or temporary closures.
Reinforcing weak areas
- Corner reinforcements: Apply extra tape or adhesive to reinforce the corners of the box, as they are susceptible to damage during transportation.
- Edge protection: Consider adding edge protectors or foam padding to the inside of the box to safeguard fragile items from impact.
- Sealing vulnerable areas: Identify any weak spots on the box, such as areas that are prone to tearing, and reinforce them with tape or additional cardboard patches.
- Water-resistant seals: If the box may be exposed to moisture, consider using water-resistant tape or adhesives to protect its contents.
6.Adding Reinforcements and Features
To make your cardboard box sturdier and more functional, it’s important to reinforce the corners and edges. This will prevent the box from easily collapsing or getting damaged during use. Start by cutting small strips of cardboard and attaching them to the corners and edges using strong adhesive or tape. These reinforcements will provide extra support and durability.
Next, consider incorporating handles and dividers to enhance the usability of your cardboard box. Handles can be added to the sides of the box for easy carrying and transportation. Simply attach sturdy strips of cardboard to act as handles, making sure they are firmly secured to withstand the weight of the contents.
Dividers can be inserted inside the box to create separate compartments, allowing you to organize and protect items within the box. Cut the dividers to the desired size and attach them securely to the interior of the box using adhesive or tape. This feature will prevent items from shifting or colliding with each other, especially during transportation.
Additionally, you can opt for optional additions such as windows or viewing panels in your cardboard box. These additions can be useful when you want to quickly identify the contents without having to open the box. Cut out a portion of the cardboard from one or more sides and replace it with a clear plastic sheet or film. Secure it in place from the inside to maintain the integrity of the box.
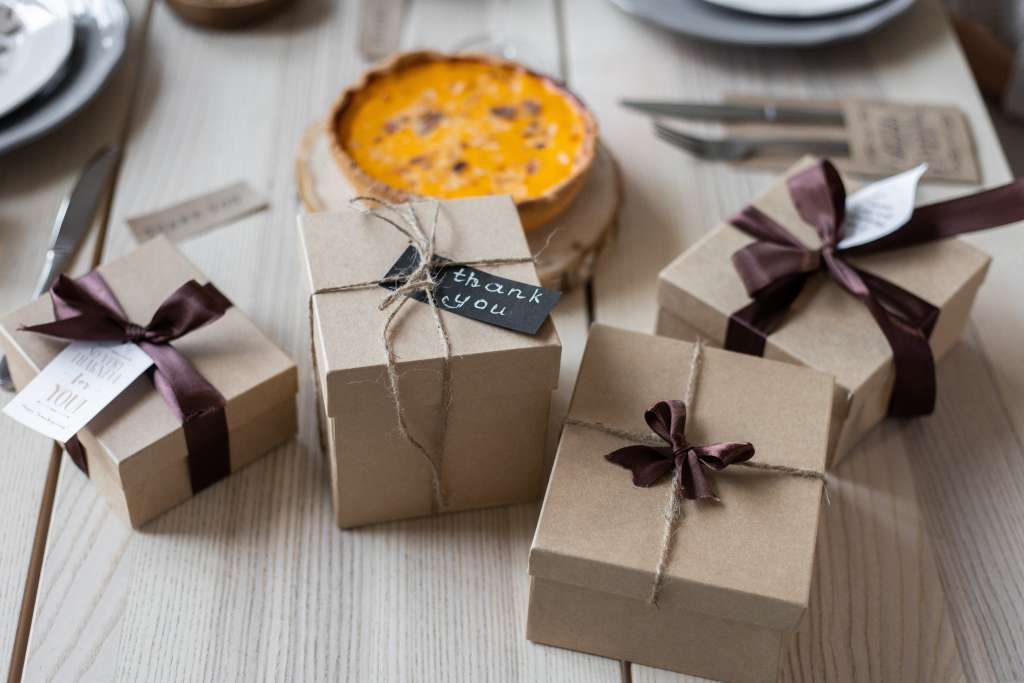
7.Decorating and Personalizing the Box
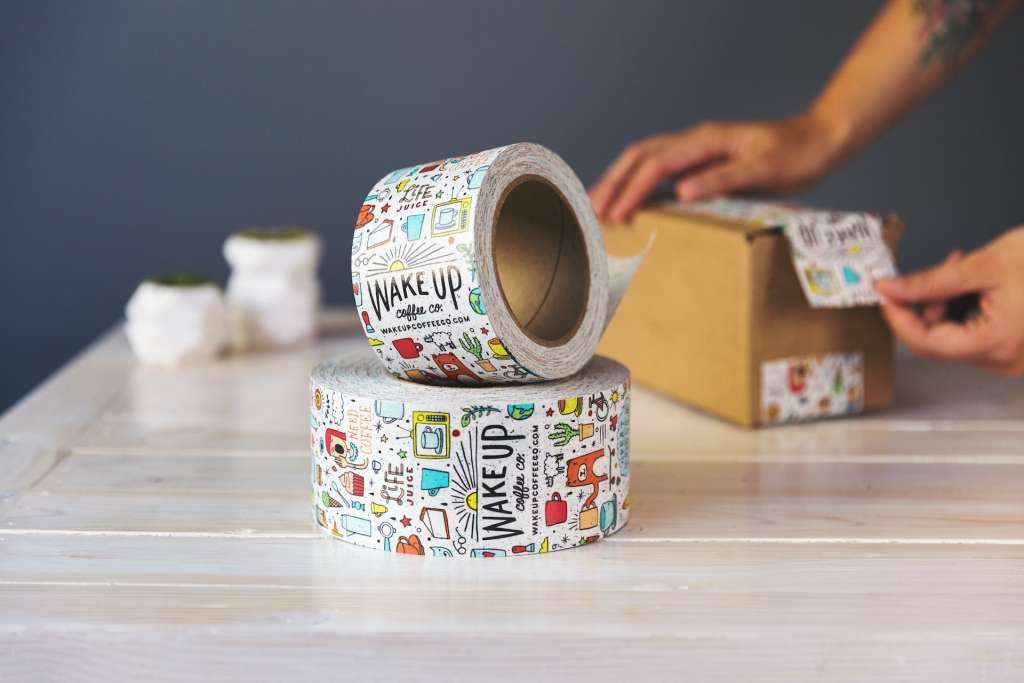
As you complete your cardboard box project, now comes the exciting part – decorating and personalizing the box to make it uniquely yours.
Here are some creative ideas for decorating your box:
- Painting, drawing, and using stickers: One of the simplest and most effective ways to decorate your cardboard box is with paint, markers, or stickers. Let your imagination run wild as you design your box with vibrant colors, patterns, or even intricate drawings. If you’re not confident in your freehand skills, consider using stencils or tracing shapes to achieve a professional look.
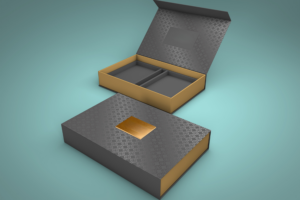
- Utilizing wrapping paper or fabric for a unique touch: Another fantastic way to personalize your box is by using wrapping paper or fabric. Choose a pattern or design that reflects your style or the purpose of the box—whether it’s bright and whimsical for a child’s toy box or elegant and luxurious for a gift box. Measure the sides and bottom of the box, cut the wrapping paper or fabric accordingly, and carefully glue or tape it into place.
8.Verifying Box Durability
Testing the sturdiness and structural integrity of the box is crucial to avoid potential disasters such as items falling out or the box collapsing under pressure. To do this, carefully examine the box for any signs of damage, such as tears, dents, or weakened areas. Pay close attention to the corners and seams, as these are often the weakest points. Also, test the box by lightly pressing on the surfaces to check for any unexpected give or flimsiness.
Factors to consider for different contents and storage conditions are essential in determining the appropriate durability needed for your cardboard box. Consider the weight and fragility of the contents that will be placed inside, as heavier or delicate items may require a stronger box. Additionally, evaluate the storage conditions, such as temperature and humidity, as these factors can weaken the structural integrity of the box over time. For example, if you plan to store the box in a damp basement, it might be necessary to reinforce it with waterproofing measures.
Ensuring the box can withstand stacking and transportation is vital, especially when handling multiple boxes or shipping them. When stacking, make sure the bottom box can support the weight of the boxes above it without collapsing. Reinforce the corners and edges if necessary, and use adhesive tape to secure the corners together. Additionally, consider the transportation conditions, such as potential impacts or vibrations during shipping. It may be beneficial to add additional cushioning or support inside the box to protect its contents.
9.Safely Disposing of Excess Material
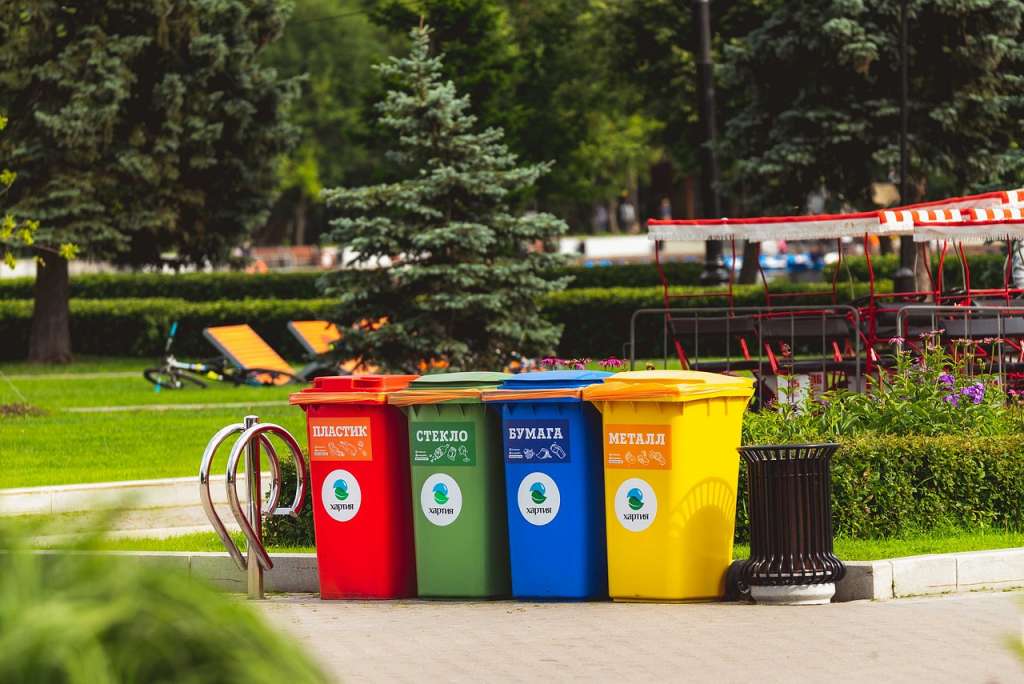
Recycling cardboard is an excellent way to reduce waste and contribute to environmental sustainability. To ensure that you recycle cardboard properly, there are a few key techniques to keep in mind. First, it’s crucial to break down the cardboard boxes before recycling them. Flatten the boxes and remove any tape or labels, as these can interfere with the recycling process. By doing so, you enable recycling centers to efficiently process the cardboard and prepare it for future use.
Finding the nearest recycling center or collection point in your area is essential for responsible waste management. Contact your local municipality or waste management department to inquire about recycling options available in your community. They can provide information on nearby recycling centers where you can drop off your excess cardboard. Additionally, look for recycling bins or collection points in your neighborhood or public spaces such as supermarkets or community centers. By properly disposing of excess cardboard at designated locations, you ensure that it is recycled and doesn’t end up in a landfill.
If you find yourself with smaller cardboard scraps and leftovers, consider exploring creative upcycling ideas. Upcycling allows you to repurpose materials into new and useful items, reducing waste and giving cardboard a second life. Some ideas include using cardboard scraps for crafting projects like making gift tags, bookmarks, or even small storage boxes. You can also cut long, sturdy strips of cardboard to create dividers for organizing drawers or shelves. Another option is to create a cardboard compost bin for your garden, providing a sustainable solution for organic waste. Get creative and have fun repurposing your cardboard scraps while minimizing waste.
Conclusion
All in all, making cardboard boxes is a fun and rewarding DIY project that anyone can do.As you embark on your carton making journey, keep in mind the key steps and considerations, but don’t be afraid to embrace your creativity and personalize your creations. In doing so, you’ll not only end up with a functional and useful item, but also enjoy the satisfaction of DIY success. So roll up your sleeves, gather materials, use your imagination, and dive into the wonderful world of cardboard box making!
Unlock custom cardboard box solutions that elevate your brand. Contact us today to speak with our product specialist.
Source:wikipedia pixabay pexels