
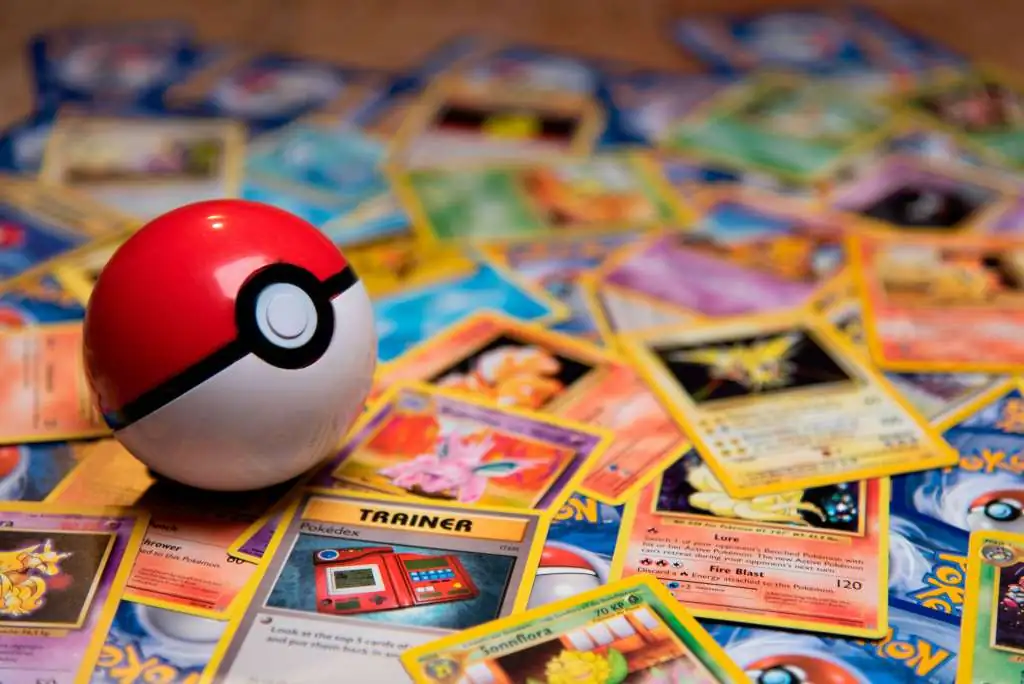
Pokemon cards have experienced a surge in popularity among collectors and enthusiasts around the world. These cards, featuring various Pokemon characters and their unique abilities, have become a massive hit, captivating both young and old alike. As a result, the demand for high-quality printed Pokemon cards has skyrocketed.In this blog post, we’ll dive into tips and steps for print Pokemon cards
Step 1: Gathering the Necessary Materials
To print Pokemon cards for yourself, it is essential to gather all the necessary materials beforehand. Here is a checklist to ensure you have everything you need
High-quality cardstock or paper
A crucial component for creating durable and professional-looking Pokemon cards. Opt for cardstock that is thick and sturdy, as this will enhance the overall quality and lifespan of your cards. Recommendations include heavy weight matte cardstock or glossy photo paper, which both offer excellent printing results and durability.
Appropriate printing tools
To achieve the best results, it is important to utilize the appropriate printing tools. Firstly, ensure you have a reliable printer capable of producing high-resolution prints. Inkjet printers are generally recommended because of their ability to produce vibrant colors. Moreover, having access to a laminator can further protect your cards and enhance their appearance.
Step 2: Finding Authentic Pokemon Card Templates
Exploring legitimate sources
Start your search by visiting reputable websites that specialize in providing Pokemon card templates. These sources usually offer a wide range of templates, catering to different generations and styles of Pokemon cards. Providing authentic templates is their primary focus, ensuring that the design elements and card information are accurate.
Online resources and websites
In recent years, numerous online resources and websites have emerged, offering downloadable Pokemon card templates. Some of these resources are free, while others may require a subscription or a small fee. It is important to ensure that the website you choose is trustworthy and has a positive reputation among the Pokemon community.
Considerations for selecting templates
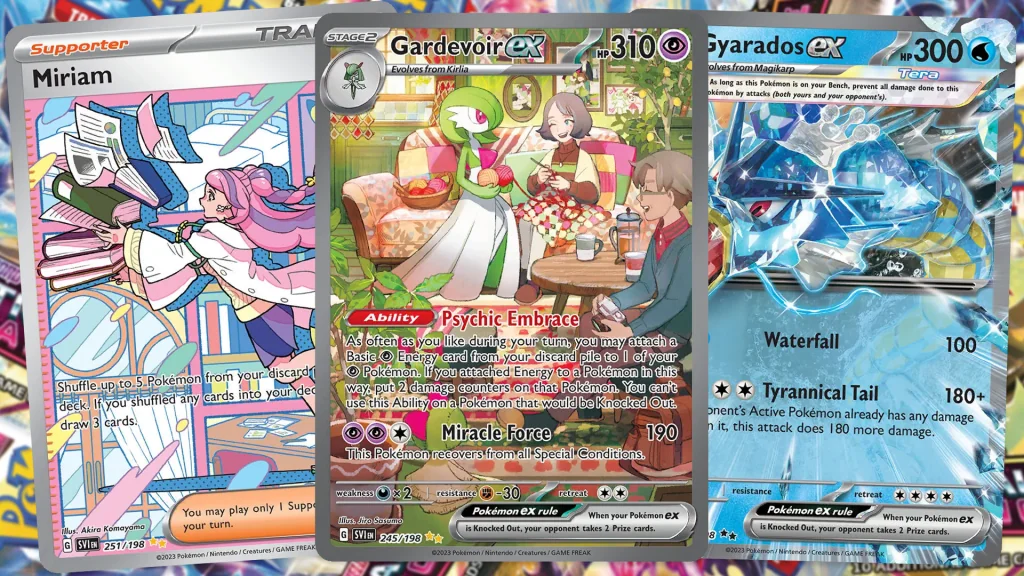
When selecting templates, keep in mind the specific requirements and preferences you have for your Pokemon cards. Consider factors such as the card’s layout, design elements, background images, and the ability to customize card details like Pokemon name, HP, attacks, and energy requirements. Choose templates that closely resemble the official Pokemon card style and format to achieve a professional-looking result.
Moreover, consider the printing capabilities of your printer. Some templates may be better suited for specific printers, while others may require advanced printing techniques for optimal results. It is advisable to experiment with different templates and observe their print quality before committing to a particular design.
By exploring legitimate sources, utilizing online resources, and considering your specific needs, you can find high-quality Pokemon card templates that will be the foundation for your printed cards. Remember that using authentic templates not only ensures accurate designs but will also enhance the overall experience of creating and collecting your own Pokemon cards.
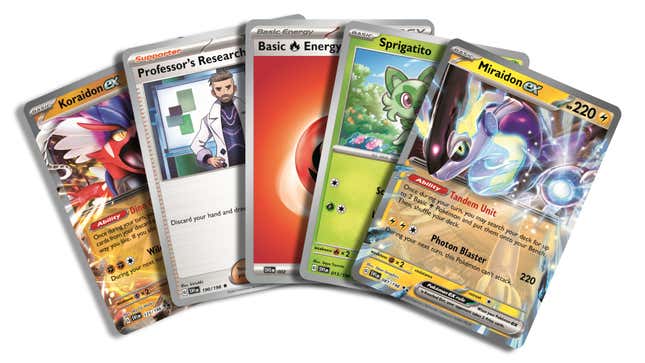
Step 3: Customizing Your Pokemon Card
How to edit the templates
Once you have chosen a printable Pokemon card template, it’s time to make it your own! Editing the templates to personalize your Pokemon card is a straightforward process that allows you to add your unique touch. Begin by opening the template file on your preferred editing software. Most templates come in a customizable format like PSD or AI. Use the provided text boxes to include your desired name, description, and abilities for your Pokemon card. Customize the font, size, and color of the text to make it stand out. Remember to save your progress as you go along.
Adding your own artwork or images
To truly make your Pokemon cards one-of-a-kind, consider adding your own artwork or images. This step allows you to showcase your creativity and personal style. Whether you are a skilled artist or not, there are several options at your disposal. If you have hand-drawn artwork, scan or photograph it and import it into your editing software. Resize and position it on the template to fit within the provided art spaces. Alternatively, you can search for artwork online that aligns with your vision for the Pokemon card. Ensure that you have proper usage rights if you choose to use someone else’s work.
Choosing appropriate Pokemon species, attributes, and details
When customizing your Pokemon card, it’s important to select appropriate Pokemon species, attributes, and details. Think about the characteristics and abilities you want your Pokemon to possess. Consider matching the species to the visual elements you have chosen or the theme of your card. For example, if you have a fiery dragon artwork, you may want to select a Dragon-type Pokemon species. Add unique abilities, weaknesses, and strengths that align with the overall concept of your Pokemon. This step allows you to create an engaging and diverse collection of cards tailored to your preferences.
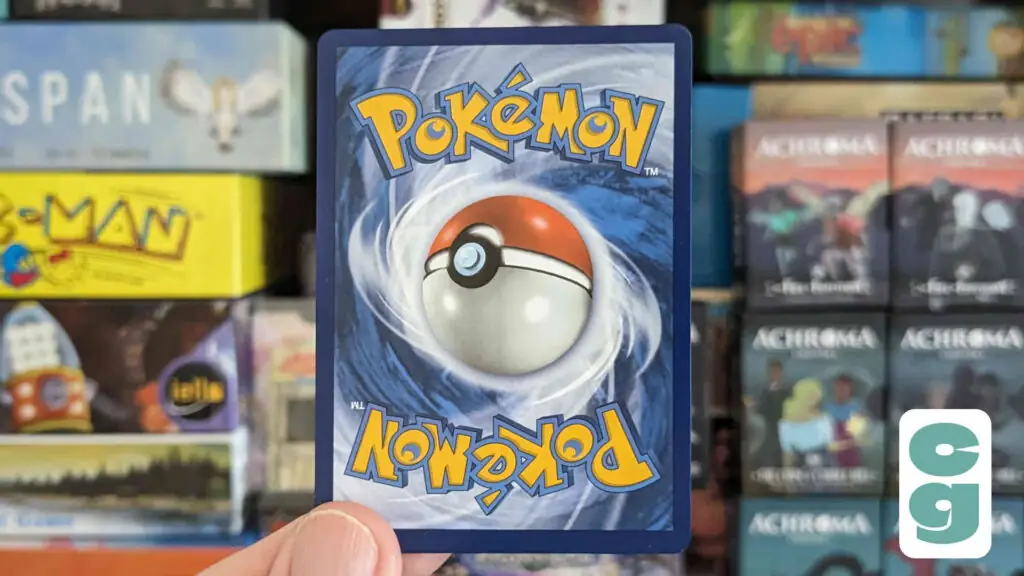
Step 4: Designing Card Backs and Borders
To achieve a professional look for your printed Pokémon cards, it is crucial to create custom card backs and borders. These elements not only enhance the overall appearance of the card but also add a touch of uniqueness to your collection.
Tips for designing visually appealing card backs
When designing the card backs, think about what you want to represent or convey through your Pokémon cards. Ensure that the design aligns with the theme, style, or aesthetic you have chosen for your collection. Consider elements such as color schemes, patterns, and images that complement the overall theme of your cards. It is essential to strike a balance between creativity and functionality, ensuring that the card back design does not overshadow the front artwork or important information.
Choosing suitable color schemes and patterns for borders
The borders of the Pokémon cards play a significant role in framing the artwork and making the cards visually appealing. When designing your borders, start by selecting a color scheme that complements the card’s overall theme or type of Pokémon. Experiment with different hues, gradients, or even metallic finishes to add depth and dimension to the design. Incorporating patterns such as stripes, waves, or geometric shapes can further enhance the aesthetic appeal of the borders. However, always consider legibility and readability, as the information printed on the borders should be easily discernible.
Step 5: Enhancing Card Quality with Images
Finding high-resolution Pokemon card images
- Search for high-quality images on reputable websites, such as official Pokemon databases or fan-made card generators.
- Look for images with a resolution of at least 300 dots per inch (dpi) to ensure clear and sharp prints.
- Avoid using blurry or pixelated images, as they can diminish the overall quality of your printed cards.
Resizing and adjusting images for perfect fit
- Use image editing software like Adobe Photoshop or GIMP to resize your Pokemon card images according to the desired dimensions.
- Maintain the original aspect ratio of the image to avoid distortion.
- Adjust the image’s size so that it fits perfectly within the card template without extending beyond its borders.
- Be mindful of the image’s placement within the template, ensuring that no important details are cropped or distorted.
Ensuring the images are clear, sharp, and aligned correctly with the card template
- Before printing, zoom in on the image to examine its clarity and sharpness. Make any necessary adjustments to enhance the image quality.
- Ensure that the image is aligned correctly with the card template to avoid any awkward or overlapping visuals.
- Double-check that the text and artwork on the card align properly with the elements of the image.
- Pay attention to any border designs on the card template to ensure they align neatly with the image edges.
Step 6: Printing Techniques for Professional Results
Now that you have successfully designed your own custom Pokemon cards, it’s time to bring them to life through high-quality printing techniques.
Different printing options
- Home printing: If you prefer to print your Pokemon cards at home, you can use a regular inkjet or laser printer. While this option is cost-effective and convenient, the print quality may not always be on par with professional printing services.
- Professional printing services: For those seeking exceptional print quality, professional printing services are an ideal choice. These services utilize advanced printing techniques, high-quality inks, and premium cardstock, resulting in professional-grade Pokemon cards.
Recommendations for printing at home or utilizing professional services
- Home printing: If you decide to print at home, ensure that your printer is capable of producing vibrant colors and high-resolution prints. It is recommended to use high-quality cardstock or photo paper specifically designed for printing trading cards. Additionally, consider investing in compatible ink cartridges to achieve accurate colors and sharp details.
- Professional printing services: If you want to attain the best possible results and have a larger quantity of cards to print, professional printing services are highly advisable. These services offer a wide range of customization options, such as different finishes and card sizes, and ensure professional-grade printing quality.
Adjusting printer settings for optimal print quality
- Paper settings:Select the appropriate paper type in your printer settings to optimize the results. If using cardstock, choose a heavier paper type setting to ensure proper ink absorption and prevent smudging or bleeding.
- Print quality: Set the printer to its highest print quality setting for optimal results. This setting typically maximizes the printer’s resolution, resulting in crisp and vibrant prints.
- Color calibration: Consider calibrating your printer’s color settings to ensure accurate color reproduction. Consult your printer’s manual or online resources for instructions on calibration.
- Double-sided printing: If you want to print on both sides of the card, ensure your printer supports double-sided printing and adjust the print settings accordingly.
Step 7: Cutting and Prepping the Cards
Cutting the Printed Cards to Desired Size
- Start by using a ruler or a cutting mat to measure and mark the desired size of your Pokemon cards. Standard Pokemon cards are 2.5 by 3.5 inches.
- Ensure that your ruler or cutting mat has clear and accurate measurements to guide your cutting process.
- Use a sharp craft knife or a paper cutter to cut along the marked lines. Slow, steady, and controlled cuts will help you achieve clean and precise edges.
- Remember to cut slightly inside the marked lines to avoid any white borders or stray ink on the edge of the cards.
Tools and Equipment Required for Precise Cutting
- A ruler or a cutting mat with clear and accurate measurements is essential for precise cutting.
- A sharp craft knife or a paper cutter will make the cutting process more efficient, ensuring clean and precise edges.
- Alternatively, you can use a pair of high-quality scissors if you feel more comfortable with them. Just be careful to follow the marked lines accurately.
Ensuring the Edges Are Clean and Smooth
- Use a sanding block or fine-grit sandpaper to lightly sand the edges of the cards, removing any roughness or unevenness caused by cutting.
- Be gentle while sanding to avoid damaging the cards or removing the printed design.
- Wipe off any excess sanding residue to keep your cards clean and free from debris.
Step 8: Protecting and Sealing the Cards
Protecting your printed Pokemon cards from damage is crucial to maintain their overall quality and value. Over time, mishandling or environmental factors may cause the cards to bend, tear, or fade, adversely affecting their visual appeal and playability. By taking preventive measures, you can extend the lifespan of your cards, ensuring that they remain in top condition and ready for battles or trading.
There are different methods you can choose from based on your preferences and budget.
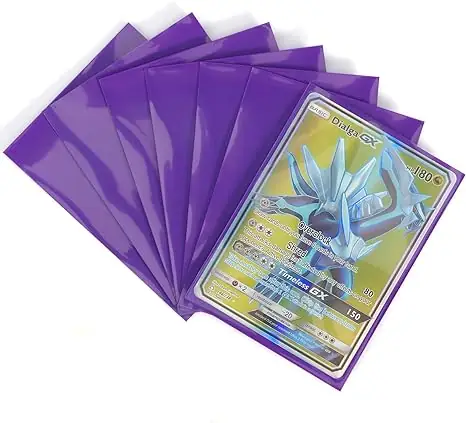
One popular option is to use card sleeves, which provide a protective layer around the cards. These sleeves act as a shield against moisture, dirt, and accidental spills, safeguarding your valuable prints. You can easily find card sleeves specifically designed for Pokemon cards in various sizes, styles, and colors, allowing you to personalize your collection while keeping it safe.
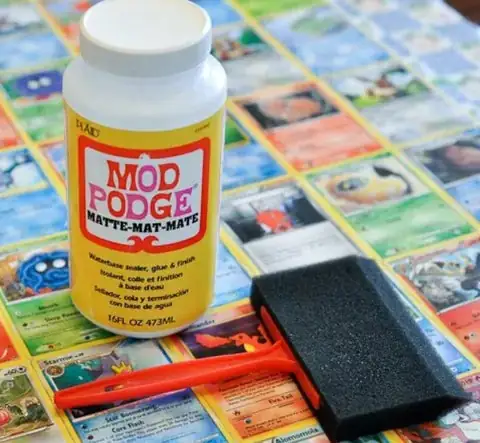
In addition to card sleeves, applying a protective coating to the cards is another effective way to ensure their long-lasting condition. Protective coatings, such as laminating sheets or sprays, create a clear and sturdy barrier on the cards’ surface, shielding them from scratches, wear, and tear. Keep in mind that when using coatings, it is crucial to apply them evenly and smoothly, avoiding any bubbles or excess product that might affect the cards’ appearance or texture.
Before choosing a protection method, it is advisable to consider your intended usage of the cards. If you plan on actively using them for gameplay or trading, card sleeves offer a convenient solution as they are easy to remove and replace. On the other hand, if your priority is preserving the cards as collectibles or for display, laminating or coating them might be a more suitable choice.
Step 9: Adding Authenticity Markers
To make your printed Pokemon cards more convincing and realistic, it’s important to include the necessary authenticity markers. These markers will enhance the overall appearance and mimic the elements found in genuine Pokemon cards. Here’s what you need to know about including authenticity markers:

Symbolic Elements
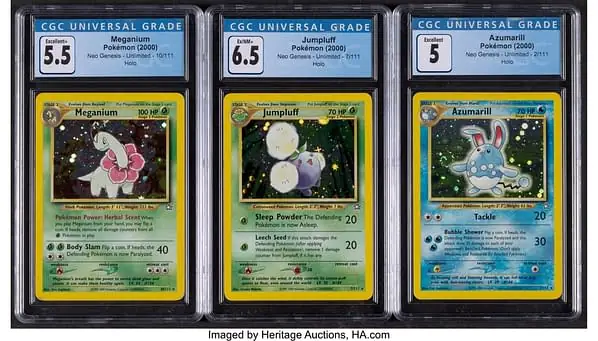
Incorporate expansion symbols and rarity indicators on your printed cards. Expansion symbols are small icons representing each card set and can be found on the bottom right corner of a genuine card. Including these symbols adds an authentic touch to your homemade cards. Similarly, rarity indicators such as circles, diamonds, or stars denote the rarity of a card. By including these markers, you are replicating important design elements found on official Pokemon cards.
Designing Holographic Features
Holographic features are one of the most distinctive aspects of Pokemon card designs. These holograms reflect light and give the cards a unique, shimmering appearance. To create genuine-looking cards, consider incorporating holographic patterns or details into your design. Doing so adds an extra layer of authenticity and makes your homemade cards more visually appealing.
Step 10: Checking Legality and Guidelines
Copyright refers to the legal protection granted to original creative works, including Pokémon cards, ensuring that the creator has exclusive rights to distribute, reproduce, and display their work. Fair use, on the other hand, allows for limited use of copyrighted material without permission, primarily for purposes such as education, commentary, or parody.
Avoiding infringement and respecting intellectual property rights
When printing Pokémon cards, it is crucial to avoid infringing upon the copyright held by the Pokémon Company, Nintendo, or any other relevant intellectual property rights holders. While it may be tempting to create exact replicas of official cards, doing so is a clear violation of copyright laws and can lead to legal consequences. Instead, consider designing custom-made cards that showcase your creativity without replicating existing artwork or designs.
To ensure you are not infringing upon copyright, it is advisable to create your own unique card designs and artwork. This will not only protect you from legal troubles but also allow you to express your artistic talents and create a truly personalized card collection.
Advice on using the custom printed cards within personal use
It is generally recommended to utilize these custom cards strictly for personal use and not for any commercial purposes. This means refraining from selling or distributing these cards, especially if they feature copyrighted content from the original Pokémon cards.
In conclusion, printing Pokemon cards is a rewarding process that allows you to unleash your creativity and have fun.
So, what are you waiting for? Get started on your Pokemon card printing adventure today and experience the excitement of bringing your favorite creatures to life in a whole new way. Let your imagination soar and have a blast creating your own Pokemon cards!
source:bestbuy fedex pokecardmaker cardgamer kotaku theepoxyresinstore cardcollector bleedingcool amazon